Understanding your kitchen floor material is crucial for effective cleaning and preservation. Different flooring types—ceramic tiles, vinyl, linoleum, and hardwood—require specific care routines. Regular cleaning with suitable agents and techniques prevents damage, scratches, and dullness, prolonging flooring life. Using eco-friendly solutions like vinegar and baking soda keeps floors clean without harsh chemicals. Restoring damaged floors involves thorough cleaning, assessing conditions, and using appropriate restoration techniques like polishing and sealing. Avoiding common mistakes during restoration ensures a long-lasting, aesthetically pleasing finish. Professional services offer tailored methods for different materials, while proper ongoing maintenance preserves the floor's beauty and value.
Revitalize your kitchen floor and transform it into a stunning centerpiece with our comprehensive guide to restoration. From understanding diverse floor types to mastering deep cleaning techniques, we’ve got you covered. Learn the art of natural cleaning solutions and discover how to restore damaged floors to their former glory. Avoid common mistakes, choose the perfect restoration method, and maintain your renewed kitchen floor for years to come—all with expert tips on effective kitchen floor cleaning.
Understanding Kitchen Floor Types
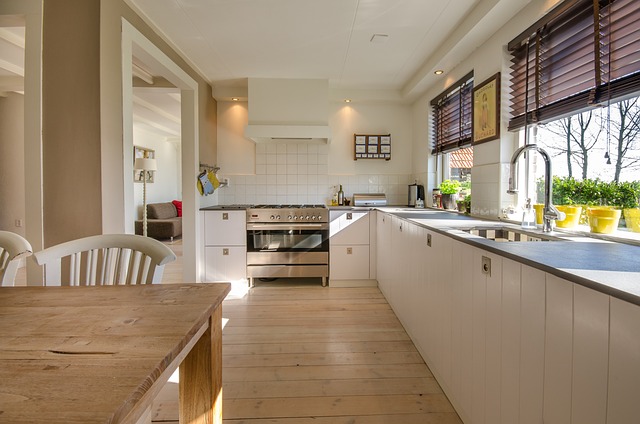
Kitchen floors are a central feature in any home, and understanding their types is crucial for effective cleaning and restoration. The most common materials include ceramic tiles, vinyl, linoleum, and hardwood. Each material requires specific care to ensure longevity. Ceramic tiles, popular for their durability, can be cleaned with mild detergent and warm water, while vinyl floors benefit from regular vacuuming and a gentle cleaner to remove stains. Linoleum, known for its natural origins, should be treated with eco-friendly cleaners to prevent damage. Hardwood floors, though requiring more care, add a touch of elegance; they should be swept regularly and cleaned with suitable hardwood floor cleaners to maintain their finish.
Identifying your kitchen floor type is the first step in proper maintenance. Kitchen floor cleaning should address both aesthetics and longevity. Different floors have unique needs, from regular polishing to specific stain removal techniques. By understanding these nuances, you can ensure that your kitchen floor not only looks its best but also remains in excellent condition for years to come.
The Importance of Regular Cleaning
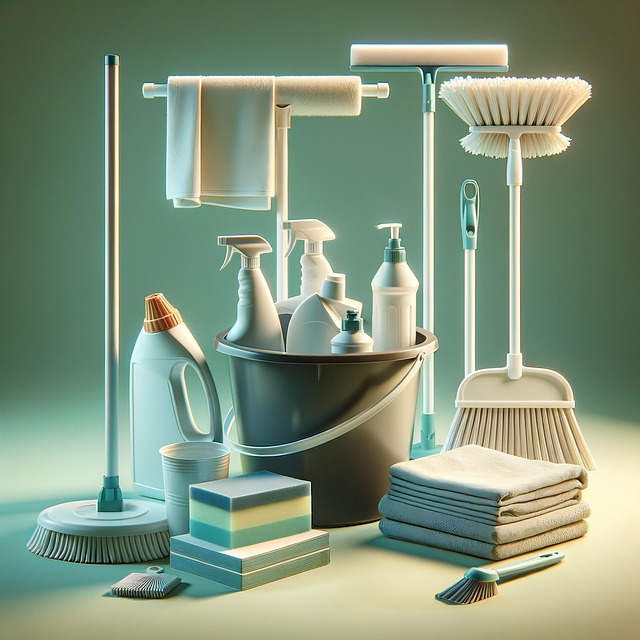
Regular kitchen floor cleaning is a non-negotiable part of maintaining a hygienic and aesthetically pleasing space. The kitchen floor often bears the brunt of daily activities, from spills and stains to dirt and grime accumulated from various tasks like food preparation and cleaning. Neglecting proper cleaning can lead to a buildup of bacteria, mold, and other allergens, which not only poses health risks but also compromises the overall cleanliness of your kitchen.
Moreover, regular floor cleaning ensures that minor issues like scratches, chips, or dullness are addressed early on. By maintaining a consistent cleaning routine, you can prevent more severe damage and prolong the life of your kitchen flooring. This involves sweeping or vacuuming to remove loose debris, followed by a thorough mopping using appropriate cleaning solutions suited for the type of floor you have. Remember, proper kitchen floor cleaning not only keeps your space looking fresh but also contributes to a healthier living environment.
Deep Cleaning: Step-by-Step Guide

Deep Cleaning Your Kitchen Floor: A Step-by-Step Guide
1. Preparation: Begin by clearing all furniture and appliances away from the floor to ensure easy access and prevent damage. Sweep or vacuum to remove any loose dirt, debris, or crumbs. This initial step is crucial for effective cleaning and will make the process faster and more efficient.
2. Mixing Cleaning Solution: Create a cleaning solution suitable for your kitchen floor material (e.g., ceramic tile, vinyl, or wood). Mix warm water with a mild detergent or a specialized kitchen floor cleaner. Ensure the mixture is not too strong to avoid damaging the surface. For tough stains, consider using a natural cleaning agent like baking soda or vinegar, which are gentle yet effective.
Natural Cleaning Solutions for Floors

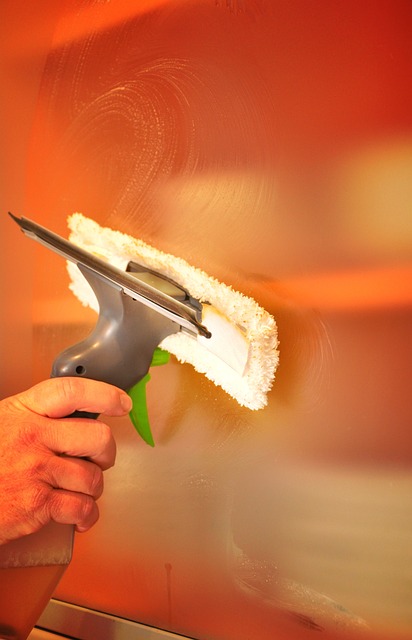
Keeping your kitchen floor clean and sparkling doesn’t always require harsh chemicals. Opting for natural cleaning solutions is an eco-friendly and safe approach to kitchen floor cleaning. White vinegar, a common household item, is an excellent multi-purpose cleaner. Its acidity helps to dissolve grease and grime, making it perfect for tackling stubborn stains on tile or wood floors. Simply mix white vinegar with water in a spray bottle and use it as a disinfectant and floor cleaner.
Another natural option is baking soda, which acts as a gentle abrasive, effective for scrubbing away dirt without scratching the floor’s surface. Creating a paste by mixing baking soda with water, you can use this to scrub difficult areas or freshen up the overall look of your kitchen floor. These simple, affordable remedies not only keep your floors clean but also reduce exposure to potentially harmful chemicals.
Restoring Damaged or Old Kitchen Floors

Damaged or old kitchen floors can be a common issue, but restoring them is a worthwhile investment that can significantly enhance the space’s aesthetics and functionality. The first step in kitchen floor restoration is thorough cleaning. Start by removing any loose debris, dirt, or stains using a mild detergent and warm water. This process ensures a clean canvas for the restoration work ahead. For more stubborn stains, consider using specialized floor cleaning solutions designed to tackle kitchen grime without damaging the flooring material.
Once the floors are clean, assess their current condition. If there are minor scratches or chips, you can repair them with fillers or scrapers, followed by sanding and sealing. For severe cases of damage, such as warped or cracked floors, replacement might be necessary. However, even in these instances, restoration techniques like polishing or refinishing can extend the life of your kitchen floors, giving them a fresh appearance and ensuring they remain durable for years to come.
Polishing and Sealing Techniques
Polishing and sealing are key steps in kitchen floor restoration, ensuring a gleaming and durable finish. The polishing process involves using specialized chemicals and machinery to buff away stains, scratches, and wear over time. This technique not only improves the aesthetic appeal of your kitchen floor but also enhances its longevity. After polishing, applying a high-quality sealer is essential. Sealers create a protective barrier, preventing liquids from penetrating the floor’s surface and causing damage or discolouration. They also make cleaning easier, as most spills can be wiped away without leaving behind stubborn stains.
Effective kitchen floor cleaning requires a deep understanding of these polishing and sealing techniques. Professional cleaners use floor-specific polishes designed to cut through grime and dirt without damaging the floor’s finish. Sealers should be chosen based on the type of flooring—from natural stone to vinyl—to ensure optimal protection. Regular maintenance, including polishing and reapplication of sealer, is crucial to keep your kitchen floors looking their best for years to come.
Common Floor Restoration Mistakes to Avoid

Restoring your kitchen floor can be a significant investment, but common mistakes can lead to costly repairs and an unsatisfactory outcome. One blunder often made is attempting to restore severely damaged floors without proper assessment. It’s crucial to identify issues like structural damage, warping, or extensive water damage early on. Attempting to fix these without professional help can result in further complications.
Another mistake to avoid is using the wrong cleaning methods. Using harsh chemicals or inappropriate tools can scratch or discolour even the toughest kitchen floors. Always opt for floor-specific cleaners and follow manufacturer guidelines. Additionally, rushing the process can lead to uneven results. Restoration takes time, especially for older or delicate flooring. Patience is key to achieving a polished, long-lasting finish that enhances your kitchen’s aesthetics and value through effective kitchen floor cleaning practices.
Choosing the Right Restoration Method
When considering kitchen floor restoration, selecting the appropriate method is paramount. The first step in effective kitchen floor cleaning and restoration is understanding your flooring material. Whether it’s tile, wood, or linoleum, each requires a specific approach. For instance, wooden floors might need polishing or refinishing to restore their natural glow, while tiles often benefit from deep cleaning and sealing to remove stains and protect the surface.
Professional restoration services offer various techniques tailored to different flooring types. Steam cleaning is popular for tile and stone floors as it effectively removes dirt and grime without harsh chemicals. For wood, sandless floor polishing or refinishing ensures minimal disruption and a quick turnaround. Choosing the right restoration method not only extends the life of your kitchen floors but also maintains their aesthetic appeal, making your kitchen a more welcoming space.
Maintaining Your Restored Kitchen Floor

After restoring your kitchen floor, proper maintenance is key to keeping it looking its best for years to come. Regular cleaning is essential; use a mild detergent and warm water to avoid damaging the floor’s finish. Avoid harsh chemicals or abrasive cleaners that can scratch or discolour the surface. Vacuuming or sweeping regularly helps remove dirt and debris, preventing them from settling and causing stains. For tougher stains, consider using a steam mop, which is gentle yet effective in cleaning without leaving behind any residue. Remember, consistent care will ensure your restored kitchen floor remains vibrant and beautiful.
To maintain the longevity of your floor, avoid placing hot items directly on it to prevent thermal damage. Keep traffic areas well-maintained to reduce wear and tear. Periodically check for signs of damage or wear, addressing them promptly to avoid bigger issues later. Regular maintenance not only keeps your kitchen floor looking pristine but also adds value to your home.