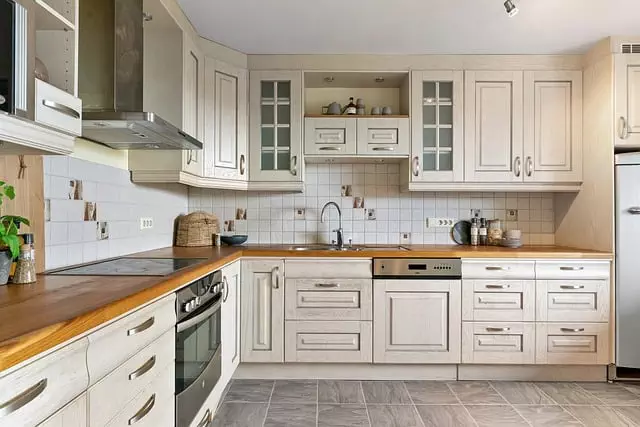
Kitchen floor polishing transforms aesthetics and functionality, achieving a sleek, glossy finish. Preparation involves sweeping, deep cleaning, scrubbing with an abrasive pad, buffing, and polishing using specialized machinery and compounds. Sealing protects against stains and scratches. Regular cleaning and polishing improve appearance, repel dirt, and minimize space perception. Choosing the right polish based on floor material ensures durability. Start with thorough cleaning, use correct equipment, and follow manufacturer instructions for professional results. Daily sweeping, mild cleaners, and re-sealing maintain shine and durability. Stay current with trends like natural earthy tones and textured finishes for a modern kitchen.
Looking to transform your kitchen with a gleaming, polished floor? This comprehensive guide delves into the world of kitchen floor polishing, offering insights for every step of the process. From understanding the benefits of a clean and polished surface to choosing the right products and mastering the step-by-step technique, we’ve got you covered. Discover maintenance tips to keep your floors looking their best and explore the latest trends in design. Elevate your kitchen with effective kitchen floor cleaning techniques today!
Understanding Kitchen Floor Polishing: A Comprehensive Guide
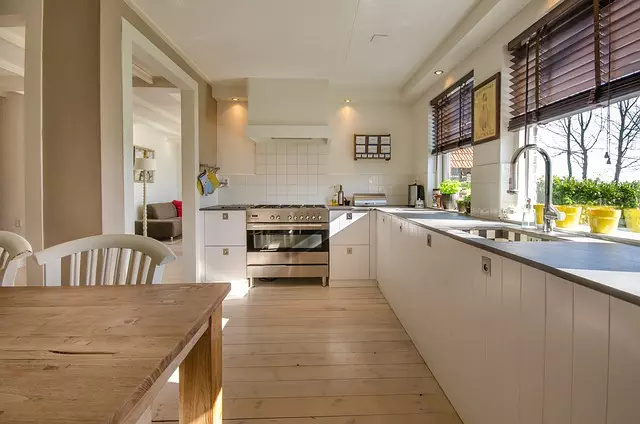
Kitchen floor polishing is a process that involves buffing and honing your kitchen’s flooring surface to achieve a sleek, glossy finish. It’s more than just cleaning; it’s a transformation that enhances the aesthetics and functionality of your workspace. Regular kitchen floor cleaning and polishing not only make the area look more appealing but also protect the floor from stains, scratches, and dirt accumulation. This guide aims to provide a comprehensive understanding of what’s involved in the process, the benefits, and how you can achieve it effectively for your home or commercial kitchen.
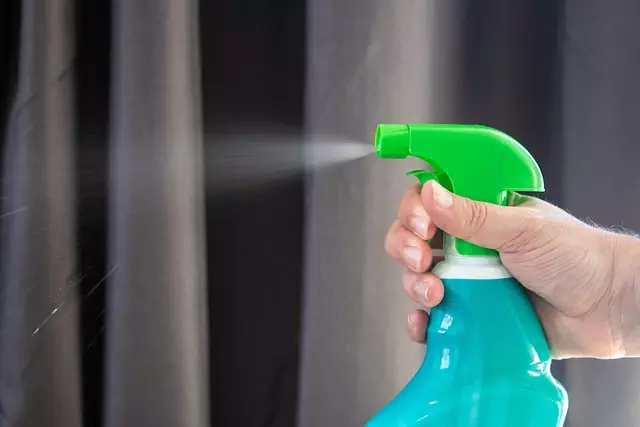
The first step in kitchen floor polishing is preparation. This includes sweeping or vacuuming to remove any debris, followed by a deep clean using appropriate cleaning solutions suitable for kitchen floors. After the initial cleaning, an abrasive pad or compound is used to gently scrub the floor, removing old sealants or finishes. Once the floor is prepared, it’s time for buffing and polishing. This step involves using specialized machinery and compounds to create a smooth surface, fill in scratches, and impart a lustrous finish. Depending on your floor type, you might need to apply a protective coating to seal and safeguard the polished surface.
Benefits of a Clean and Polished Kitchen Floor
A clean and polished kitchen floor offers more than just aesthetic appeal; it’s a testament to good hygiene and easy maintenance. Regular kitchen floor cleaning and polishing have numerous benefits, especially in a space that sees constant foot traffic and is prone to spills and stains. Polished floors not only enhance the overall look of your kitchen but also create a seamless, non-slip surface, ensuring safety for everyone, including elderly members or kids who might be playing around.
Moreover, polished flooring repels dirt and moisture, making it easier to keep your kitchen floor clean. Unlike unpolished surfaces that can trap stains and odors, a polished floor reflects light, giving the impression of a larger space. This visual trick is not just satisfying but also practical, as it minimizes the need for frequent refinishing, saving you time and money in the long run.
Choosing the Right Polish for Your Kitchen Surface
When it comes to kitchen floor polishing, selecting the appropriate polish is a pivotal step in achieving a gleaming and durable finish. The right polish should not only enhance the appearance of your kitchen floor but also be suited to the material it’s made from—be it ceramic tile, vinyl, or hardwood. For instance, a versatile marble polish designed for stone surfaces can revive the sparkle of granite or limestone floors, while a more specialized product might be required for linoleum or rubber.
Consider factors like scratch resistance, water repellency, and ease of application when choosing a kitchen floor polish. A high-quality polish should offer protection against everyday wear and tear, making cleaning easier over time. Opting for a polish with an antimicrobial finish can also be beneficial, as it repels dirt and bacteria, contributing to a cleaner and healthier kitchen environment through effective kitchen floor cleaning practices.
Step-by-Step Process: How to Polish Your Kitchen Floor

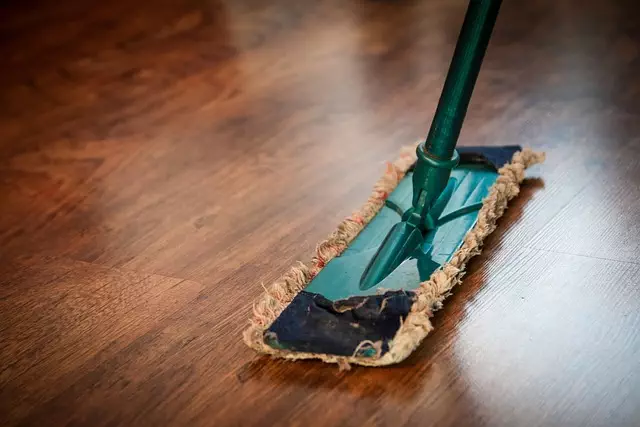
Polishing your kitchen floor is a straightforward process that can transform the look and feel of your space. First, begin by sweeping or vacuuming to remove any loose debris or dirt. Next, mop the floor with a suitable cleaning solution, ensuring it’s specifically designed for kitchen floors to handle grease and grime effectively. After mopping, allow the floor to dry completely.
Once dry, apply a high-quality floor polish using a clean cloth or polisher. Spread an even layer across the surface, working in small sections at a time. Let the polish dry according to the manufacturer’s instructions, usually around 15-30 minutes. Once dry, buff the floor with a soft cloth for a shiny, smooth finish. Regularly cleaning and polishing your kitchen floor not only enhances its aesthetics but also extends its lifespan.
Common Mistakes to Avoid During Floor Polishing

Polishing your kitchen floor is a great way to enhance its appearance and extend its lifespan, but it’s not without potential pitfalls. Common mistakes can lead to uneven finishes, damage to the floor, or even a messy, time-consuming cleanup. One of the biggest blunders is attempting to polish a dirty floor. Before you begin, ensure thorough kitchen floor cleaning to remove any grime, debris, or oils that could impair the polishing process and the final result.
Another mistake is choosing the wrong polishing equipment for your floor’s material. Different floors, such as ceramic tile, wood, or vinyl, require specific tools and products to avoid scratching or damaging them. Always research and select a suitable polisher and pads designed for your kitchen floor type, following manufacturer instructions closely to achieve professional-looking results without the common pitfalls.
Maintenance Tips for Longevity and Shine

To maintain the shine and longevity of your kitchen floor, regular cleaning is essential. Start by sweeping or vacuuming daily to remove dirt and debris that can accumulate on the surface. This simple step prevents gritty particles from scratching your polished floor.
For deeper cleaning, use a mild floor cleaner suitable for polished surfaces. Avoid harsh chemicals or abrasive cleaners as they can damage the finish. Apply the cleaner with a mop or sponge, ensuring even distribution, and rinse thoroughly with clean water afterward. Regularly resealing your kitchen floor with a high-quality sealer will also protect it from moisture and stains, maintaining its gleam for years to come.
Top Trends in Kitchen Floor Polishing Design

Staying up-to-date with the latest trends in kitchen floor polishing can transform your space into a modern and inviting area. One prominent trend is embracing natural, earthy tones for a cozy ambiance. This involves using polishes that highlight wood grain, bringing a sense of warmth to the kitchen. Incorporating neutral shades like beige, taupe, or subtle browns creates a timeless and elegant look, easily paired with various décor styles.
Additionally, texture plays a significant role in modern floor polishing designs. Beyond smooth finishes, kitchens are now embracing textured floors for added visual interest. This can be achieved through specialized polishes that impart a subtle matte or semi-gloss finish, adding depth and character to the surface. These textures complement both traditional and contemporary kitchen aesthetics, enhancing the overall cleaning process as these finishes are more resistant to staining and easy to maintain with proper kitchen floor cleaning practices.